Showing posts with label bartlett. Show all posts

Wednesday, June 26, 2013

Photos from the Road

We worked a lot while we were on the road, but we did get some riding in. One highlight was meeting my friend David Blasco of the renowned RoyalEnfields.com blog. I rode out to have lunch with him and his lovely wife, Bonnie. They're such great people and I loved swapping Enfield stories and hearing about their other adventures in the blogosphere.

When we got back, Hudson (my 5 yr old) and I wanted to spend some quality time working on the Enfield. I confess I sort of gerry-rigged a setup to tighten a very sloppy primary chain. I used a rubber caster cup. Don't judge me. Hudson pointed out my hands were getting dirty and I told him that a long time ago, someone taught me never to be afraid to get your hands dirty when you work. Nothing is so pointless as four people standing around staring at an unsolved problem because no one wants to get grease under their nails.  He said he wanted to "put it back together" so I let him do the wrenching. There's no place like home.


David Blasco, owner and writer at RoyalEnfields.com

My best pal, Sanders, stealing a ride


Mr. Castle and I flattened the hills in Florida.
Time stops here. Vintage St., Orlando, FL, USA
Yes, I used a rubber caster cup to tense up the primary chain.

My little guy, Hudson: not afraid of dirt

A job well done. Now, we ride.


Monday, November 19, 2012

Lower the Boom! Bring Back the Enfield Model G

Reading David Blasco's excellent Royal Enfield blog about the new Hitchcock's rigid Royal Enfield frame got me thinking. Something is missing from this modification. The bike looks exactly like a standard Bullet, only now it's removed all the comfort of a swingarm rear end.

I always preferred the lower, longer, sleeker stance of the 1940s generation of motorcycles. I guess that's why I'm drawn to bobbers.  The 1955-present Enfield has a funky frame that is supported in part by the engine itself which can make it trickier to add a standard hardtail frame mod like those made for Triumphs and Yamaha XS650s at suppliers like Lowbrow Customs. Hitchcock's realized this and spent a lot of time creating a high-quality rigid rear end... which doesn't seem to change the look of the bike at all.

I decided to look at Enfields, old vs new. You may know that the Royal Enfield Bullet was a design almost completely unchanged from 1955-2008 when the company finally redesigned the engine. Below you'll see a comparison between the 1940s and the 1950s (modern) eras of Enfield motorcycles. The 40s was a little longer and much lower. The 50s were more compact and a lot higher in the center.

Old Empire Motorcycles comes closer to a lower bobber look. Check out their custom Enfields.

I love my Enfield. If I were going to drop some cash on a proper hardtail frame mod, which I would in a second, I would want it to have about a 3-4 inch drop, bringing the center of the bike, the gas tank, engine, and seat lower, closer to the feel of say a 1940 Enfield Model G. You would, of course also need to shorten and possibly rake the forks a bit as well. Or replace the entire front end with a girder fork.

Or Royal Enfield could just reproduce the entire Model G frame!

I'll keep dreaming.


1940 Royal Enfield Model G

1955-2008 Royal Enfield Bullet (My own)


A comparison of the last two generations of Royal Enfields


Wednesday, April 11, 2012

4.00 x 19 Motorcycle Tires

I get a lot of questions about the tires I'm running on my Enfield. I use 4.00 x 19 front and back, however Domiracer, the supplier that used to carry these has stopped selling them so I wanted to post a few alternatives, although I've never bought from these suppliers. (Click the captions for the links).


Duro HF308 Universal (4.00 x 19)


Heidenau K37 Universal Tire (4.00 x 19)


Monday, April 9, 2012

Almost Vintage Photos from Bill Green

More from photographer, Bill Green. Shot on the country roads of central North Carolina. I love what Bill does here as they are almost an homage to Loomis Dean's series out of  Life Magazine.
Authenticity. Beauty. Happiness.

You may recognize the girl in these photos as our own Thunder Girl, Raychelle.  She's one of a kind.


Monday, March 19, 2012

Photographer, Bill Green

I got to do a shoot with my good friend and photographer Bill Green this weekend. The motorcycle is a 2003 Royal Enfield Bullet. Mildly customized by me. More to come.

Monday, March 12, 2012

Doing the Tenth-Ton

The "tenth-ton" is the speed at which you travel while giving your young sons their first motorcycle ride. The best part was when my 6 yr. old, Porter grabbed the handlebars and leaned down cafe-racer-style to make us go faster, then hollered into the wind, "Dad! This is awesome!"

I've had my stock 2003 Enfield Bullet since 2008 and do the regular maintenance and replacements along with a few minor mods. It runs great and sounds perfect.


Wednesday, November 30, 2011

HMT Tutorial: Change the Kick Start Spring on a Royal Enfield

After 16,880 miles, my kick start spring snapped on my Royal Enfield. I fixed it and share this beautifully simple experience with you.


Thursday, September 1, 2011

Ready to Rumble!

The only thing I don't like about sponsoring an event is having to haul supplies instead of just riding in. Regardless, the Enfield and lots of gear from HMT are ready for the Bull City Rumble this weekend. Mods and Rockers, the forecast calls for Thunder.

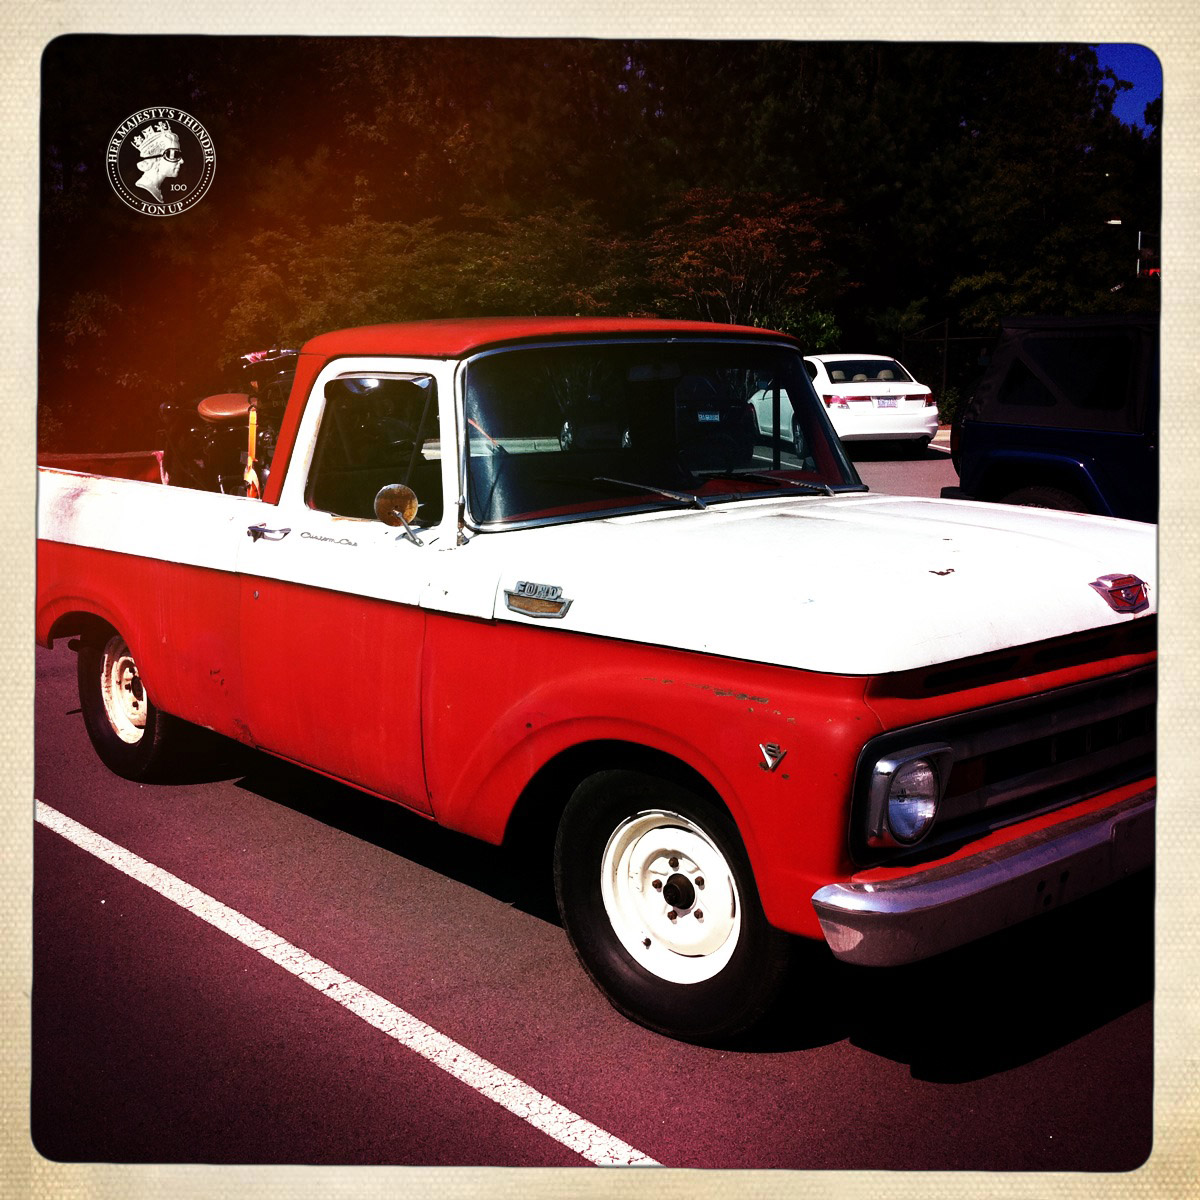
Thanks to Hipstamatic for making my truck look way better than it does in real life.

The Enfield is loaded.


Wednesday, July 6, 2011

Enfield Shirts

Check out our Royal Enfield shirts for the dudes at HerMajestysThunder.com


I call this one "LeTigre."

Thursday, April 7, 2011

DIY Painting Motorcycle Rims on the Cheap

I'll confess, I'm sort of cheap. And impatient to ride. Last weekend I finally painted my motorcycle rims black. I've been photoshopping it for years and finally got around to it. I'm fully aware that powdercoating is the way to go when painting your bike rims, but, here's a quick way to paint your rims yourself using Appliance Epoxy Paint, without even having to remove the tires. This works for car rims as well.

Step 1. Prep.
Thoroughly clean the rims with a degreaser.
Wet sand the chrome and rinse. Allow to dry.
Mask off the rim using playing cards. (Much better than masking tape). They create a very precise mask and it only takes about 5 minutes.


Step 2. Prep some more.
Flip over the wheel and place on a bucket. Use another deck of cards to mask off the other side of the rim to prevent overspray onto the tire.


Step 3. Primer.
Use a self-etching primer. I used Duplicolor - available at auto parts shops. Let dry, lightly sand, add another coat of primer.


Step 4. Paint.
Use Appliance Epoxy paint by Rust-oleum. I recommend painting one side and flipping it over to paint the other side before the first side dries. To keep from marring the wet paint, I propped the rim up on a small bowl, on top of the bucket. The small bowl fits inside the area I'm not painting.


Step 5. Mount Wheels and Ride.


Sunday, February 20, 2011

Ramping up

I was afraid that shooting a video of loading my motorcycle using my new, tri-fold ramp would guarantee an epic fail. I should have shot it, but it would have been a long, boring feature of me sitting on the bike, in the back of the truck, slowly easing it backward, trying not to end up running over myself on the way down. I was surprised to find it amazingly easy. A wide ramp is the key. I bought mine used, but it's made by DeeZee.

Also, my boys are now expertly trained in the arts of changing the oil and installing seat belts in a 1961 Ford pickup. It was a good Saturday.
 

Thursday, February 17, 2011

Keep Your Goggles From Fogging

I read somewhere that you can use Formula 409 to clean your goggles which creates a barrier so the fog doesn't form inside. I rode this morning for 50 minutes in 40 degrees with a scarf pulled up to my eyeballs with no fog. They even used to use it as a selling point in TV commercials in the early 70s (below). While no solution is permanent, dirtbike.off-road.com reports that you can also effectively use a potato slice or liquid soap. Rub it on, allow to dry, then buff clean.

Below is my regular riding gear. Metal flake Fulmer helmet, Halcyon goggles, black scarf, vintage cafe racer leather jacket.


Tuesday, November 9, 2010

Fall in North Carolina

Went for a ride with our old pal Scott the other day in North Carolina. He rides a Harley bagger but we won't hold that against him. The Fall season in NC is really beautiful with weather that was sunny and brisk.

Me and the boys started out by adding oil to the Enfield. Whether we're working on the bike, the old truck or the go kart, they're the best little helpers - very interested in watching oil drain and putting it back in with a funnel. We have fun spending time getting dirty in the garage. It's an activity my dad and I did a lot together.

Me and the boys

Harley rider vs the British biker. 

NC in the fall is Heaven.